Thinking about building a patio but not thrilled about the price tag?
You’re not alone.
Hiring a contractor can cost thousands. But if you're willing to put in the work, installing patio pavers yourself is a surprisingly doable weekend project.
Yes, it takes planning. Yes, there’s digging involved. But with the right steps (and a bit of patience), you can end up with a pro-level patio—without the pro-level bill.
This guide breaks down everything you need: tools, materials, and a clear step-by-step process to get it done right.
Tools and Materials You’ll Need
Don’t skip this section. Having the right tools is half the battle.
Essential Tools
- Tape Measure – For accurate layout
- Shovel – You’ll need it for excavation
- Rake – To smooth out soil and gravel
- Tamper or Plate Compactor – Compacts the base (this matters a LOT)
- Rubber Mallet – Taps pavers in place without damage
- Level + Straight Edge – Keeps things flat and aligned
- Wheelbarrow – Makes hauling materials easier
- Gloves + Knee Pads – Your back and hands will thank you
Materials Required
- Pavers – Choose concrete, stone, or brick based on your style
- Gravel Base – 4–6 inches of crushed stone
- Paver Sand – 1 inch deep for leveling
- Polymeric Sand – Locks pavers in place
- Landscape Fabric – Keeps weeds down and drainage working
- Edge Restraints – Keeps the patio from shifting over time
💡 Pro Tip: Buy 10% more pavers than you think you need. You’ll break a few or need to cut some.
Step-by-Step: How to Install Patio Pavers
1. Mark and Plan the Layout
Use stakes and string to outline the area. Make sure the patio has a slight slope—about 1 inch every 4 feet—for drainage.
2. Dig It Out
Excavate 6–8 inches deep. Remove all grass, roots, and debris. You want clean, compactable soil.
3. Lay the Landscape Fabric
Roll it out across the area. This helps block weeds and lets water drain properly.
4. Build the Gravel Base
Add 2 inches of gravel, then compact. Repeat until you reach 4–6 inches total. Don’t rush this step—it’s what makes your patio last.
5. Add and Level the Sand
Pour in a 1-inch layer of paver sand. Use a long board or screed to make it perfectly level.
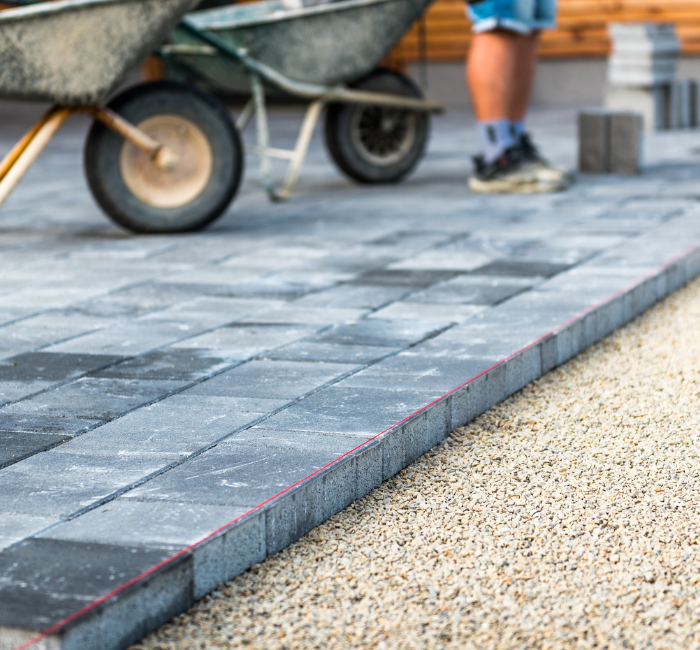
6. Set the Pavers
Start in a corner and work outwards. Use your mallet to gently tap each paver into place. Keep consistent spacing between them (⅛ to ¼ inch works well).
7. Cut Pavers Where Needed
Use a masonry saw or chisel to shape pavers for edges or curves.
8. Install Edge Restraints
These go around the outside to hold the layout together.
9. Lock It All In
Pour polymeric sand over the surface. Sweep it into the joints. Then lightly mist with water to activate the binding agent.
When to Hire a Pro Instead

DIY isn’t always the best route. Here’s when to call a professional:
- Sloped or uneven yards (you may need grading or retaining walls)
- Patios over 300 sq. ft. (a crew can save you time and headache)
- Tight timelines (pros can finish in a few days)
- Intricate patterns or shapes (they’ll nail the details)
- Drainage issues near the house (mess this up and it’s $$$ to fix)
A pro can handle tricky layouts, water flow, and ensure long-term durability. If you’re unsure, get a quote before starting.
Final Thoughts
If you’ve got a level yard, some elbow grease, and a free weekend or two, installing patio pavers yourself can be a great way to upgrade your outdoor space—and save thousands in the process.
Just remember:
Nail the prep, measure twice, and don’t skip the base.
But if you’re dealing with complex terrain or drainage near your foundation, calling a local paver installer could save you money (and stress) down the road.